Best Way to Setup a Blue Yeti on Desk
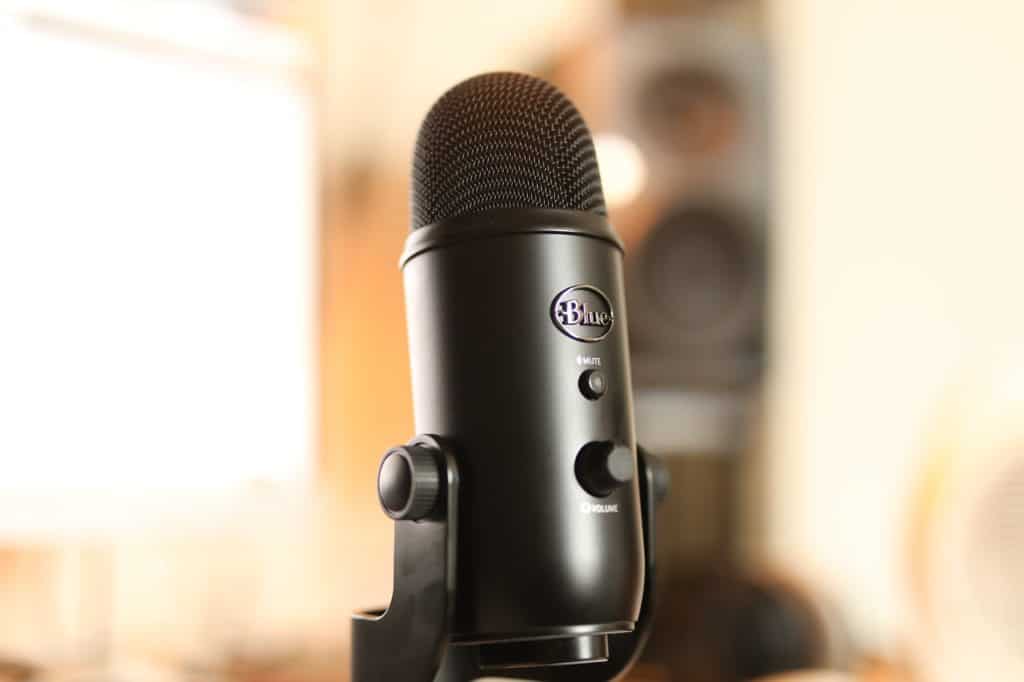
The Blue Yeti is one of the most common plug-and-play microphones. Unlike XLR microphones, you don't need to hook up a phantom-powered audio interface or mixer to power up this microphone. Once plugged in the USB port of your PC or laptop, you're good to go.
This high-performing microphone doesn't need special drivers for it to work. It's perfectly compatible with MAC and Windows operating systems (Windows XP, Vista, 7, 8, and 10).
To maximize the Blue Yeti's features, it's vital to know its optimal settings. Today, we'll provide useful tips for Blue Yeti settings to enhance your digital recording experience.
Best Blue Yeti Settings
As a condenser microphone, the Blue Yeti has a frequency response of 20Hz to 20kHz, which is sensitive enough to pick up even the faintest sound in the surroundings. This means that you have to configure it properly to pick up the acceptable amount of noise.
Mic Position
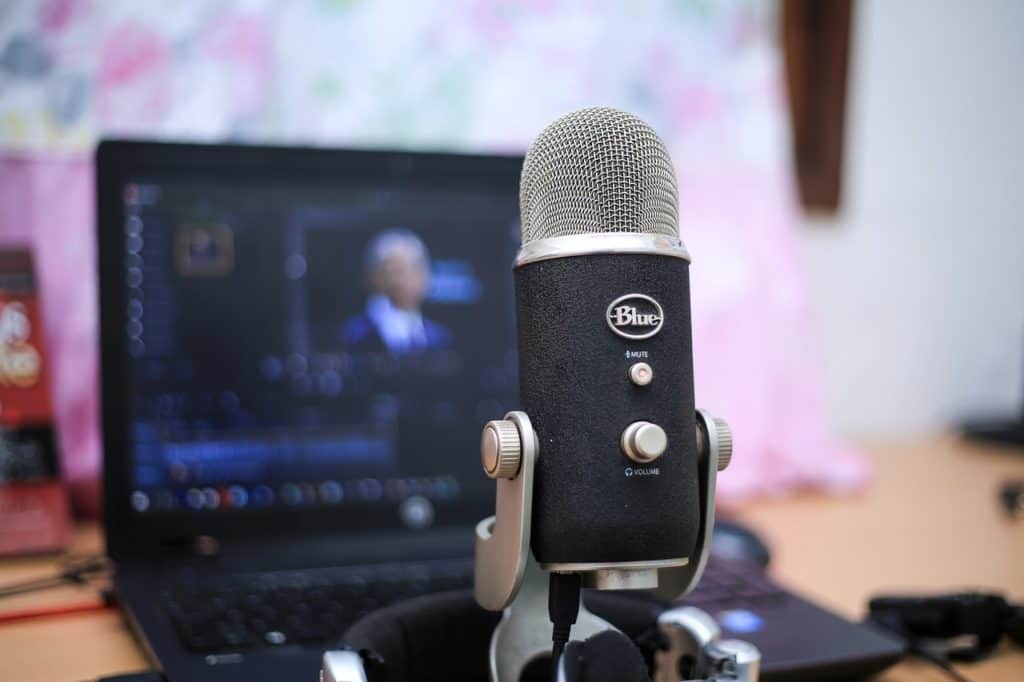
Place the microphone on a sturdy table or desk to keep it secure. The Blue logo and headphone volume must be facing you for easy access. Once you have fixed the microphone's position, tighten the set screws on the base.
Since the Blue Yeti is a side-address mic, it must be in an upright position and the speaker perpendicular to it, so you can speak or sing to its sides.
Gain
People often get confused with gain and volume because they are used interchangeably by people. However, the two are completely different ideas: Volume is the output level while the gain is the input level. In short, gain allows you to control the sound before processing so that you can refine the tone of your sound.
Expert Tip: On the Blue Yeti's backside is a central knob for adjusting gain levels. Before using the mic, place the knob at the center and the indicator in a vertical position. If you hear unwanted noise, gradually turn the gain down. If your audio lacks crispiness, increase the gain.
Mute
Together with the gain control, the Blue Yeti also has a mute button switch. If you switch this button on, it automatically blocks the signal going to the laptop or computer.
This is a handy feature during in-between breaks when you need to toggle the mic on and off. When the mic is muted, the LED light flashes.
Familiarize the Hardware
It's essential to be familiar with operating the Blue Yeti microphone, as well as knowing some basic troubleshooting if something irregular happens.
Expert Tip: If you encounter distortion or feedback when recording from a loud source, just lower the mic's sensitivity through its gain control.
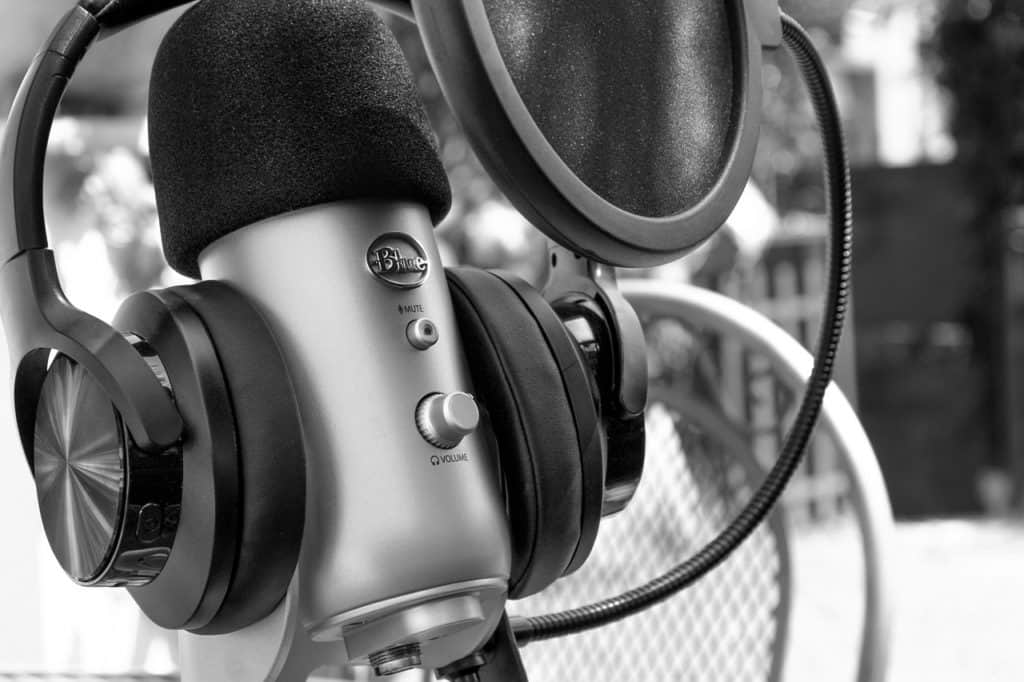
The Blue Yeti comes with a 3.5 mm headphone jack that lets you monitor your recording in real-time, with no latency delays. At the front of the microphone, you can also adjust the volume of the headphones.
Choose the Proper Pickup Patterns
You can set the Blue Yeti according to four pick patterns: stereo, cardioid, omnidirectional, and bidirectional. Each of these patterns has its strengths, depending on how they are used.
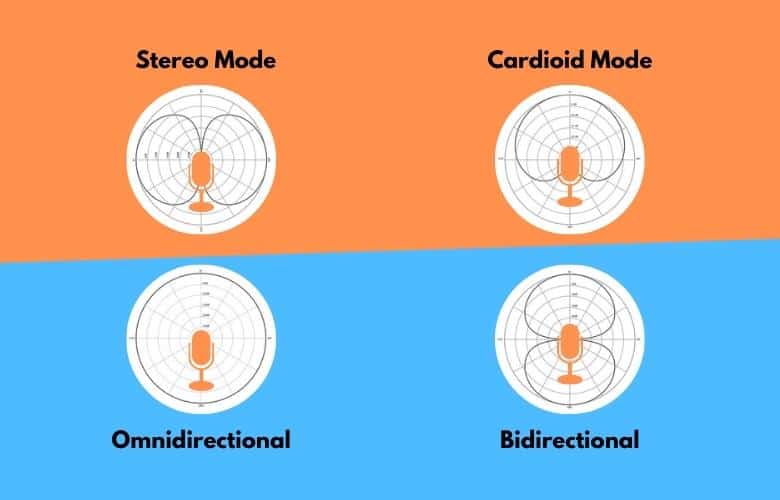
1. Stereo Mode
In this pattern, both left and right channels are active, making the sound wider and more realistic. This pattern works excellently for recording acoustic guitars, choir, and ASMR videos.
2. Cardioid Mode
This heart-shaped pattern lets you record the microphone strongly at the front and weakly at the sides. The result is a rich, full-bodied sound. If you're doing monologues, podcasts, Twitch streaming, vocal recording, and instruments, then this pattern works best for those situations.
3. Omnidirectional
This pattern lets the microphone capture sounds surrounding it and not just one side of it. This pattern is perfect for recording a group of individuals like choir, conference calls, or group podcasts.
4. Bidirectional
This mode allows the microphone to capture 2 speakers at the same. Only the front and rear parts of the microphones can capture sound. This is ideal for one-on-one sessions like interviews.
Use a Pop Filter
When you speak close to a microphone, it captures every word you say including consonants that might be too much for the mic to bear – P, B, and T. Just listen to an audio while closing your eyes and you'll notice that the pronunciation of these three consonants has a higher volume. On the frequency spectrum of audio, you can also notice its spikes, which are noticeably higher than the rest of the sound waves.
Expert Tip: The pop filter helps in stopping this burst of air so that their frequencies will not be a distraction in the overall audio quality. You can use any type of filter, whether foam type, circular mesh type or dead-cat type.
Get a Solid Boom Arm
The solid boom arm is an invaluable microphone accessory to those who want freedom in their workspace. Using conventional mic stands could be occupying too much space. With the solid boom arm, you can move the microphone to a spot anywhere in the workplace.
Use a Shock Mount
The primary reason that you need a shock mount is so you can easily mount the microphone on a mic stand or boom arm. Secondly, shock mounts help eliminate vibrations, improving the crispiness of your audio.
Studio microphones are extremely sensitive to rumbles and vibrations, affecting the low-end frequency response. To ensure a clean bass sound, the shock mount will do the trick.
Blue Yeti Computer Setup
Depending on the OS of your computer, you can check out the procedures below:
1. MAC Setup
- Connect the Yeti microphone to your computer using the USB cable. A simple USB cable will do.
- Click the Apple menu, select System Preference, then click Sound.
- Click the Output tab
- Under Select a Device for sound output, and select Yeti Stereo
- Click the Input tab, then select the Yeti microphone under the Selecta Device for Sound Input.
2. Windows Setup
- Connect the microphone to the computer
- Open the Windows 8.1 Charms bar menu.
- Click Settings and go to Control Panel.
- Click the Hardware and Sound, then click Sounds.
- Go to the Playback tab and select the Peti Purpose to the Playback tab and select the Peti Purpose
Software Setup
The Blue Yeti is compatible with most software like Garageband, Audacity, Ableton, iMovie, Skype, and many more. For XLR condenser microphones, you have to download the drivers for your sound card or audio interface but for this USB microphone, you can connect with the software without drivers.
The microphones also work well with live-streaming platforms like Open Broadcaster Software (OBS), Discord, Gameshow, XSplit, and others.
Setting Up Blue Yeti for Instruments
The Blue Yeti is a superb choice for recording instruments, especially for guitars. Its logo must face your instrument. No need to point it directly to your sound source because the microphone records on its sides
For recording instruments, the usual pattern used is Cardioid but you can also try to experiment with stereo mode. Follow these basic steps to achieve a great instrument recording:
- Find the quietest space. If you're looking to capture purely vocals, then you need to stay away from noisy areas.
- Make the recording near the center of the room (stay away from the walls to avoid reflections.
- Put some clothing or fabric for sound absorption. You can add curtains to the walls and place a carpet on hardwood floors.
- If you're recording acoustic guitars, don't place it directly in front of the soundhole but the guitar's twelfth fret.
- If you're using electric guitars, you can also use them to capture the amplifier's sound but make sure to control its gain settings.
Setting Up Blue Yeti for Live streaming
Use the Cardioid mode when live streaming. This pattern will help you do away with ambient sounds that can be heard and capture your voice.
Do not get too close with the Blue Yeti and just maintain 6 to 12 inches away. Be careful to keep this position during recording and not lean or sit back. Bending forward or backward leads further mic adjustments.
Wrapping it Up
To summarize, here are the things you can do to achieve that crystal-clear quality audio.
- Determine what you will use the microphone for (step recording, live streaming, podcast, etc)
- Choose the microphone's proper pickup pattern for the identified usage
- Eliminate all unnecessary noise. When it's time to click that record button, ensure to put other things to silent mode (mobile phones, electric fans, etc.)
- Set the gain at the lowest level possible
- Test everything before takeoff. Once you have defined all settings, make a dry run and listen for the last time.
Conclusion
In the podcasting world, the Blue Yeti is one of the most trusted microphones. If you are into recording and live streaming and you want a minimalist setup, the Blue Yeti is a hassle-free microphone. It also is one of the best microphones for voiceovers!
Achieving the optimal settings is possible by carefully following the tips provided and testing it always before use.
Source: https://playthetunes.com/blue-yeti-settings/
0 Response to "Best Way to Setup a Blue Yeti on Desk"
Post a Comment